MIL-DTL-11891G(AT)
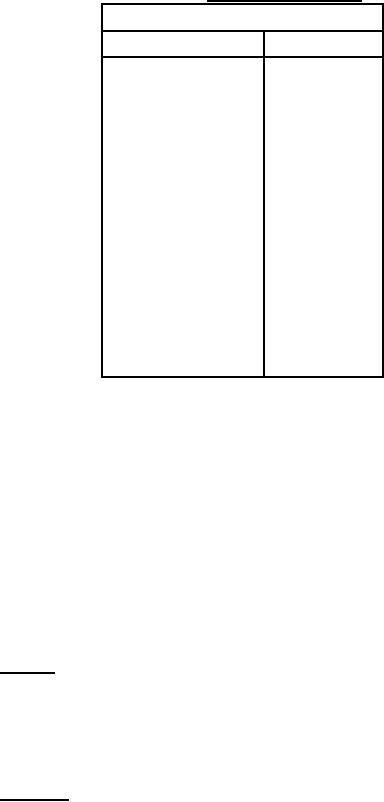
TABLE V. Sampling plan for CI.
CI sampling plan**
Inspection lot size
Sample size
2 to 8
*
9 to 15
13
16 to 25
13
26 to 50
13
51 to 90
13
91 to 150
13
151 to 280
20
1201 to 3200
29
3201 to 10,000
34
10,000 to 35,000
42
35,000 to 150,000
50
150,000 to 500,000
60
500,001 and over
74
90
102
* Indicates entire lot must be inspected (100% inspection).
** Acceptance number is always zero
NOTES:
1. Tightened inspection shall be introduced as soon as 2 out of 5 successive lots have
been rejected and shall, as a minimum, impose a 30 percent increase in sample size.
Normal inspection sampling may be restored after 5 successive lots have been
accepted under tightened inspection.
2. Reduced inspection may be introduced when 10 successive lots have been
accepted and shall as a maximum, permit a 30 percent decrease in sample size.
Normal inspection sampling shall be restored if a lot is not accepted under reduced
inspection.
4.5.3.2 Defects The sample selected in 4.5.3.1 shall be inspected to the requirements of
table IV for roadwheel path and ground pads and table III for bushings. The defects shall be
classified as specified in table VI. Note that table VI addresses only the visual and physical
measurement inspections of vulcanized components. It does not address defects or failures found
upon testing.
4.5.3.3 CI failure. Any item that fails to conform to any specified requirement shall be
rejected and any failure (one or more) of the selected sample or test for the appropriate inspection
lot size shall constitute a failure of the entire lot. The rejected item(s) may be repaired or
corrected and resubmitted for inspection. If the contractor utilizes sampling inspection as an
27
For Parts Inquires call Parts Hangar, Inc (727) 493-0744
© Copyright 2015 Integrated Publishing, Inc.
A Service Disabled Veteran Owned Small Business